


How to Get Nail Glue Off Nails

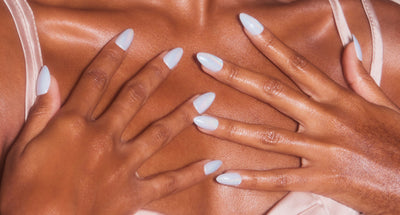
A long-lasting press-on manicure requires nail glue to stay in place. Once you become an expert at applying your claws, you’ll still have days when the glue gets on your fingers or you need to remove the nails sooner than expected.
When this happens, it can be frustrating. No amount of peeling or scraping seems to remove the glue from your nails. In this article, we will show you the easiest no-fuss way to remove press-on nail glue, so you don’t have to worry.
Why Is Nail Glue So Sticky
Handling nail glue can be a sticky situation. Nail glue is similar to superglue because it often contains cyanoacrylate. This chemical provides a quick-dry effect and it dries crystal clear.
If you’ve ever had superglue stick to your fingers, you know it’s a tough situation. Luckily, nail glue is actually safe for your skin and nails, unlike superglue. It’s gentler on the nail bed and less damaging. That means that, obviously, you should never use super glue for press-on nails. This is cause for a great big beauty disaster.
Nail glue is designed to attach the press-on nail to your nails and remain adhered for up to two weeks in most cases. That’s why it’s so sticky.
Proper removal of your press-on nails is crucial for maintaining healthy skin and fingernails.
Types of Nail Glue Applications
Aside from the nail glue that’s used in salons, there are two other ways you can apply nail glue at home.
-
Nail Glue Squeeze Bottle: This is the typical glue that comes with your press-on nail kit. Simply squeeze the tube/bottle to dispense a drop of glue onto your nails.
-
Brush-On Nail Glue: This type of glue comes in a tube or bottle and contains a wand with a tiny brush at the end. The brush glides over your nail to sweep the product onto your nails. This application is a bit less messy and can be easier for beginners.
Correct Nail Application For Easy Removal
Proper application of the nail glue and nails makes removing the glue later much easier. Less is more, so try to avoid over-using nail glue. Follow these tips on how to get a flawless manicure for easier removal later.
-
Before applying the glue, measure each nail and choose which ones you’ll use. Lay the faux nails out one by one in the order you’ll be applying them. This will make things easier when you start working with the glue.
-
Trim and file your nails to the length you want them. Then, buff the nail bed. By buffing the top part of your nail, you create the perfect foundation for the glue and nail to adhere to.
-
Gently push your cuticles back with a cuticle stick. Follow by wiping each nail with an alcohol prep pad to remove any excess oils from your nails. This will create a clean palette for your new nails.
-
Work applying the glue to one nail at a time. The glue dries fast so you don’t want to apply the glue to every nail at once. Apply glue to your nail and the press-on nail. Then press the nail on and hold firmly for about ten seconds. Make sure the glue is dry before moving to the next one.
-
Repeat this process until each nail is applied.
-
After all of the nails are on, file, trim, or shape the faux nails if needed.
Voila! Your nails are complete!
Quick Tips: Keep a paper towel nearby for accidental drips.
If glue is stuck to your skin, try soaking the area in warm, soapy water and brushing it with an old unused toothbrush or bristled pad.
Easy-Peasy Glue Removal
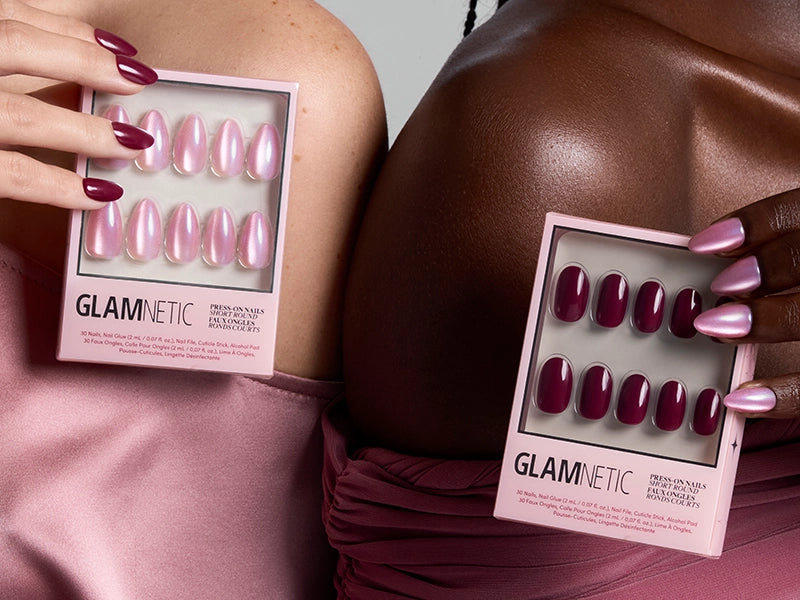
Glamnetic press-on nails are easy to apply and are designed to last for up to two weeks.
You’ll notice when your nails are ready to be removed because they will begin to feel less secure.
It is important to remove your press-on nails properly in order not to damage your nails.
Never peel or force the nails to come off. If you don’t properly remove the press-on nails, you risk the chance of peeling the top layer of your real nails off. Yikes!
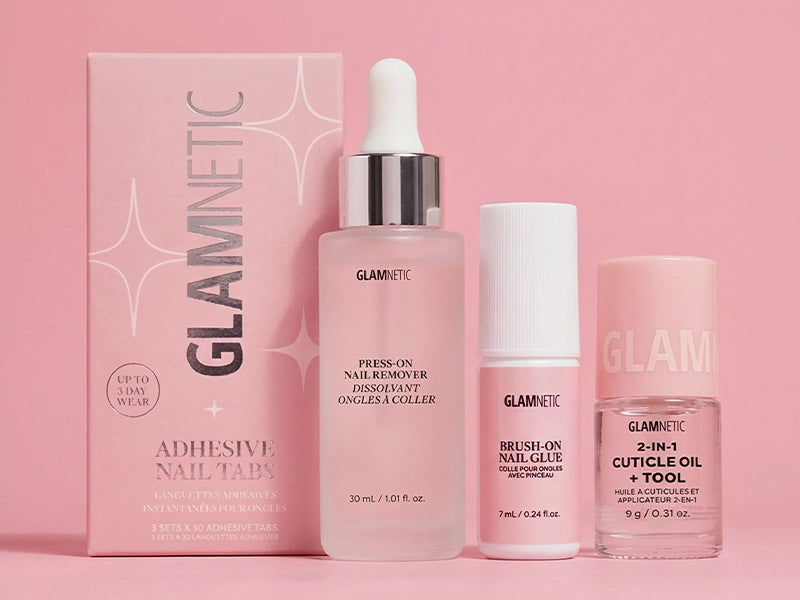
Removal is super easy. All you’ll need is a small bowl, warm water, soap, and oil.
- Fill the bowl with warm soapy water and add a few drops of oil. The oil can be argan oil, cuticle oil, or even olive oil. It will act as an emollient to remove the nails easily. Make sure the water is very warm but not too hot.
- Soak your nails one hand at a time for 10 minutes. Be patient; the wait will be worth it when you see how easily your nails pop off.
- Grab a cuticle stick and gently pry underneath your press-on nails just enough to pop them off. If the nails still feel like they don’t want to come off, try soaking for a few more minutes and make sure your water is still warm.
That’s it! Your natural nails are ready for a new press-on application or can be worn au-natural.
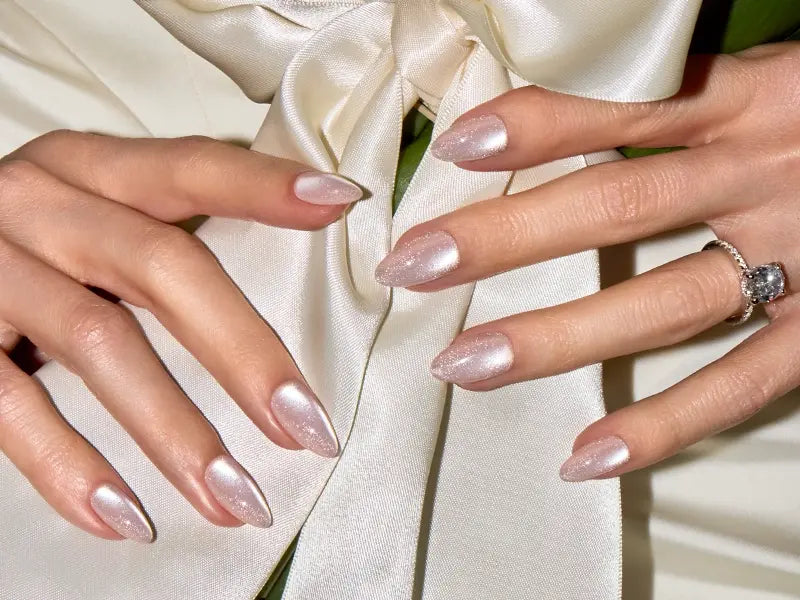
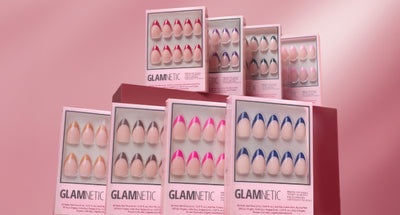
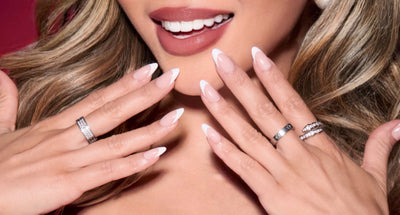
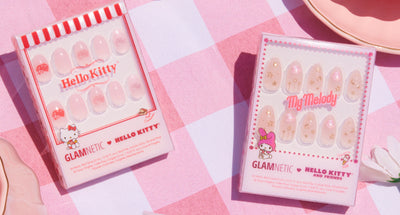
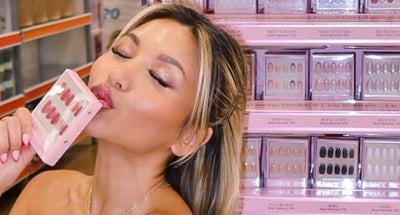
Celebrity-Inspired Press-On Nails
So now that you know the proper way to remove the glue from your press-on nails, it’s time to choose the most glam set for yourself. We at Glamnetic have created celebrity-inspired nails that are ready to be showcased.
We have many styles, in short, medium, and long lengths. If you’re unsure about which type you should choose, try taking our nail quiz to determine which set is right for you.
Check out our long coffin nails in I Do for a subtle take on a 2000s favorite. These feature a long coffin design with an opaque white finish. They’ll go with any fit and are sure to draw just enough attention.
Kim Kardashian’s nails are always on point. Try the long coffin style of Exposed if you’re craving a Kim-worthy nude color. These are sure to leave you with a polished look.
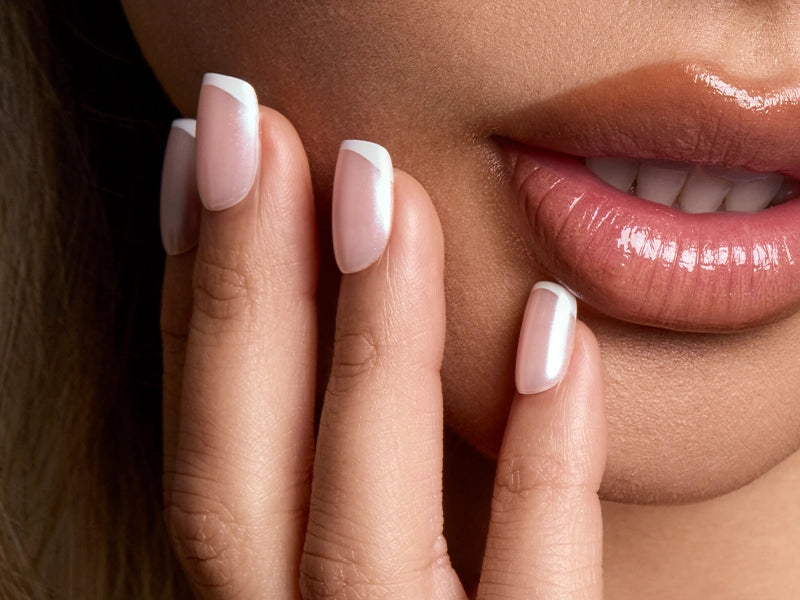
If you’re on the prowl for a demure design without all the extra zazz, then try Ma Damn on for size. The beautiful almond shape and French manicure finish are classy and ready for weekend brunching.
We at Glamnetic have a variety of press-on nail styles to choose from. Visit us and get ready for that Insta pic because all of your friends will be super jelly.
Sources:
Cuticle Guide: Parts of a Cuticle and How to Take Care of Them | NailPro
Argan Oil for Skin: Benefits and Uses for All Skin Types | Healthline
The History of the French Manicure: From the Editors:NAILS Mag


