


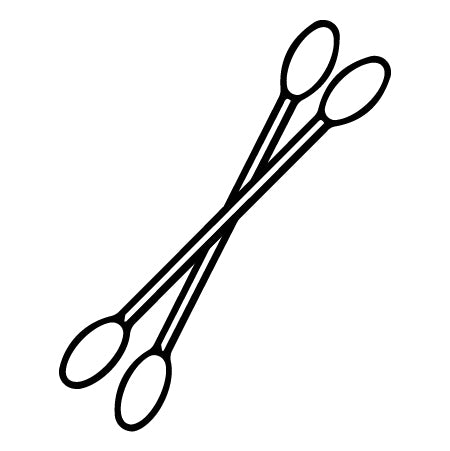
Gently pull lashes off your eyes and clean your eyelids with any oil based cleanser (We suggest our waterproof makeup swabs, micellar water, waterproof makeup wipes, fractionated coconut oil, etc). Warm water with a gentle scrub in the shower will even get it off!

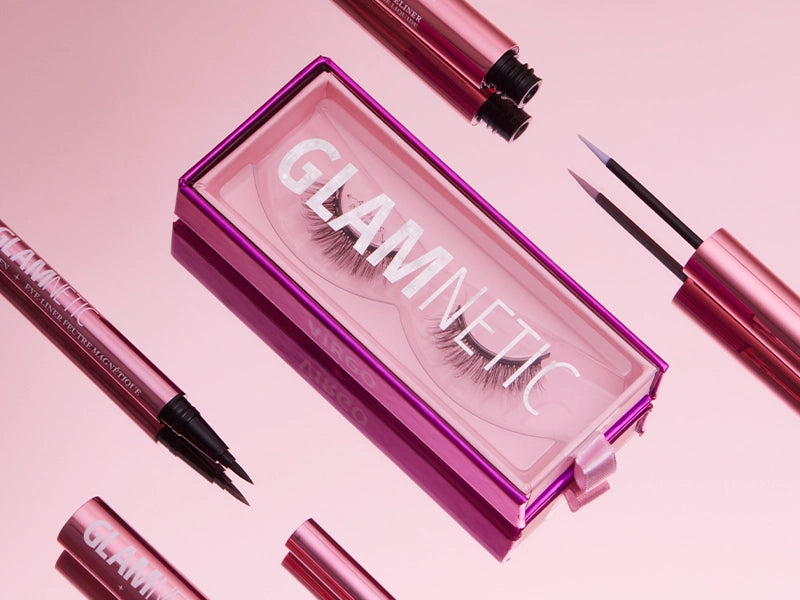
HOW TO APPLY MAGNETIC LASHES
APPLICATION
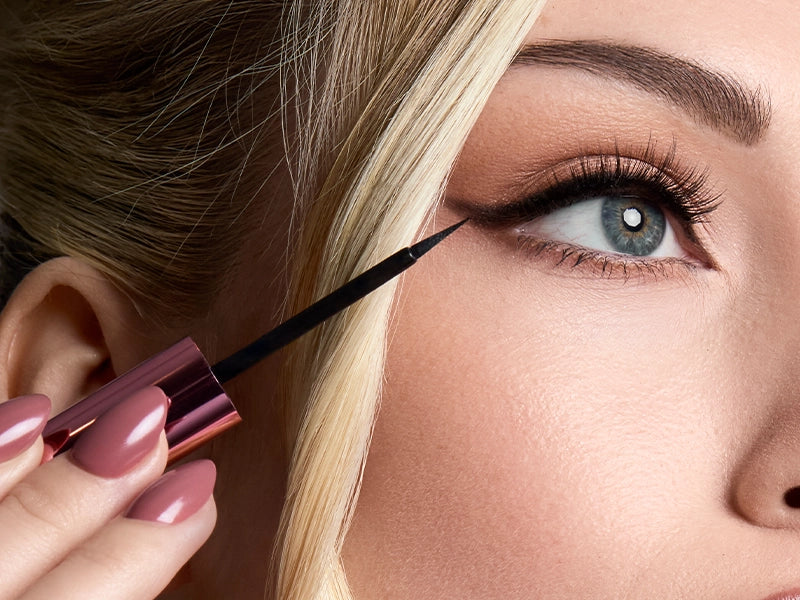
1. APPLY MAGNETIC LINER
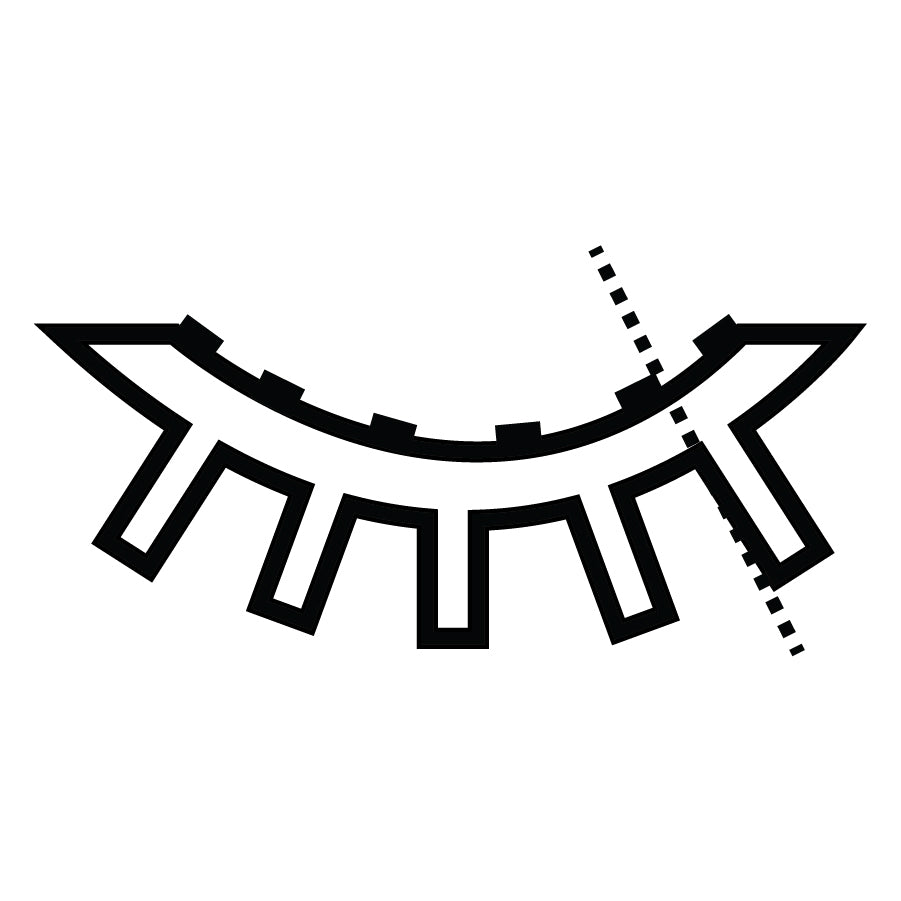
Carefully apply eyeliner as close to the roots of your lashes as possible. Make a line as thick as the size of the magnets on the lashes and make sure that there is enough liner on the brush when applying. Make sure to line from your inner to outer corner so that the magnets at the ends of the lash band can hold on properly, starting at where your natural lashes start to where they end. A wing is optional. Wait 20-60 seconds depending on how much liner you applied. The liner should be about 80% dry before magnetizing lashes.
Ann’s Tip: Angle the brush parallel to your lash line and use your pinky to prop up your hand on your cheekbone for the easiest application. If you feel more comfortable with your own liner, you can use our liner as a top layer. To blend your lashes better, curl your lashes after liner application and apply mascara! We don’t suggest you apply mascara onto Glamnetic lashes as that may ruin them prematurely.
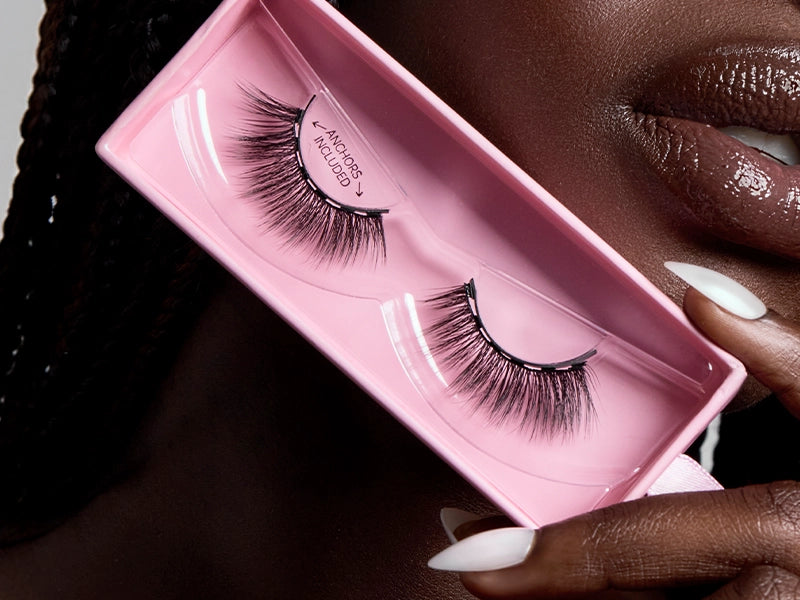
2. SOFTEN THE LASH BAND
Remove lashes from case and gently bend the eyelash band to make it softer and contoured to your eye shape better.
3. APPLY MAGNETIC LASHES
Grab magnetic eyelash towards middle of band.
Hold a mirror at chin level and look down as you slowly make contact
between eyeliner and magnetic strip, making sure to align the middle of the band with the
middle of your eye. Make contact with the outer corner first, then gently press the lash onto the inner corner. Get the band as close to your natural lashes as possible. You can pinch the natural and fake lashes together to ensure this happens. If you have long lashes, make sure to get behind your natural lashes so they don’t interfere with the eyeliner to magnet contact. Once lashes make contact with liner, grab lashes near the root and press into place to make sure it “sets”.
Ann’s Tip: Place lashes about 1 cm away from the inner corner to ensure it does not bother you.
4. APPLY ANCHORS (OPTIONAL)
Anchors are meant to sandwich your natural lashes just like traditional magnetic lashes, except we’ve revamped our lashes to be used even without them, of course! We suggest you use anchors under the inner and outer corner lash magnet or wherever you feel you need more hold. You may even opt to use ONLY anchors on days you don’t feel like wearing liner.
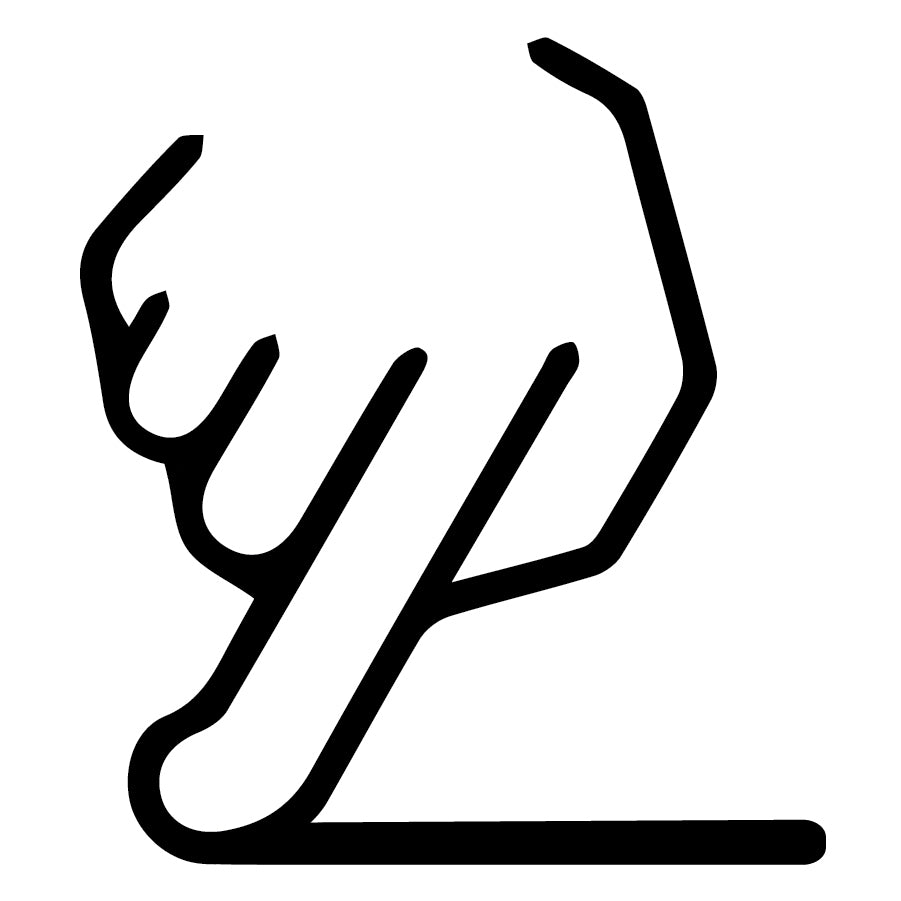
How to Use: Using either your hands or a tweezer, hold the anchor by the tiny hairs, where the curl is going upwards. Place them right under your natural lashes near the lash magnet you desire to magnetize to. Once you get close enough, the magnets will magnetize to each other and snap into place, sandwiching your natural lashes! When you pull on your lash, you will feel the extra security. Continue this process with as many magnets as you’d like!
Ann’s Tip: For girls with thin lashes, I suggest you apply mascara and curl your lashes before lash application if you want to use anchors so there is something to sandwich!
Removal & cleaning
Removal

Cleaning
If there is any dried magnetic liner stuck onto the magnets, use your thumb nail to scratch off as much as possible. Use a makeup wipe to gently clean off any remnants on each of the magnets (We love Neutrogena makeup remover wipes!). Use the wipe to clean off the magnetic strip in the box as well, then magnetize the lashes back into the box! Please DO NOT get the lashes wet as this could ruin their curl and shape!
Glamnetic Best Practices
Shake
Please shake the bottle for a few seconds before each use. Seal bottle after each use to prevent product from drying out.
Swatch
Like any makeup product, please swatch product on hand to make sure you are not allergic to any ingredients in product. If no reaction occurs, proceed to application.
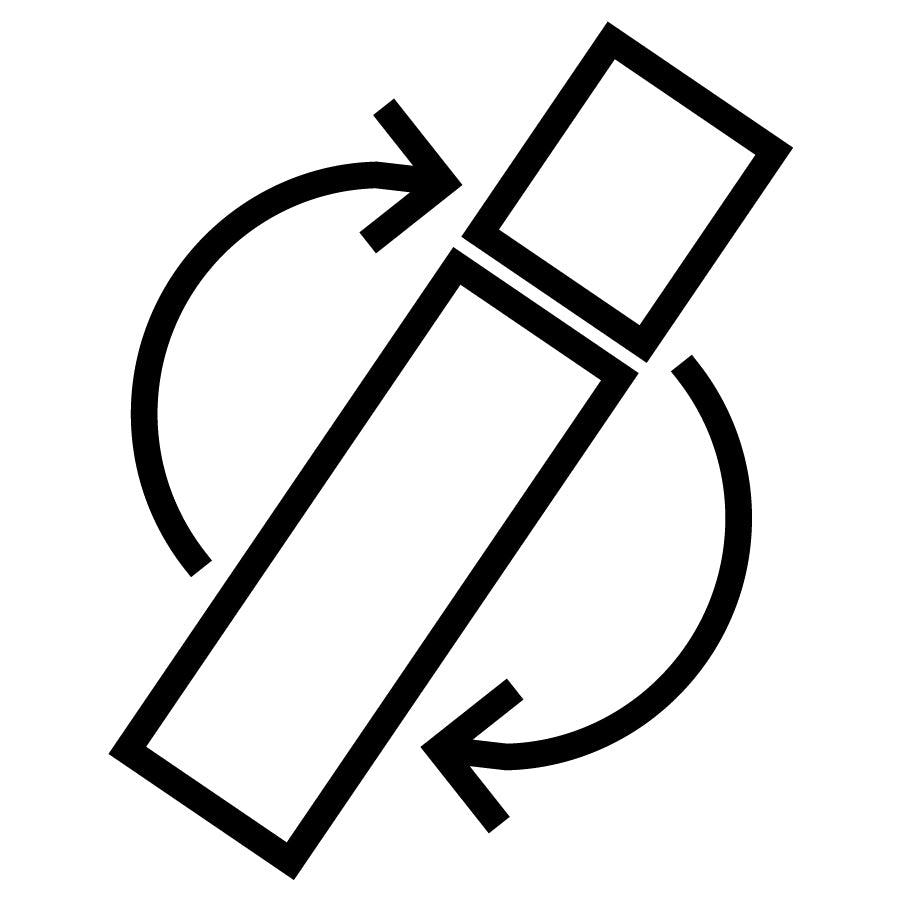
TRIM
If you need to trim the lashes, make sure to cut the band so that the end is a magnet.

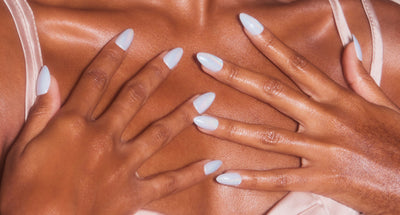
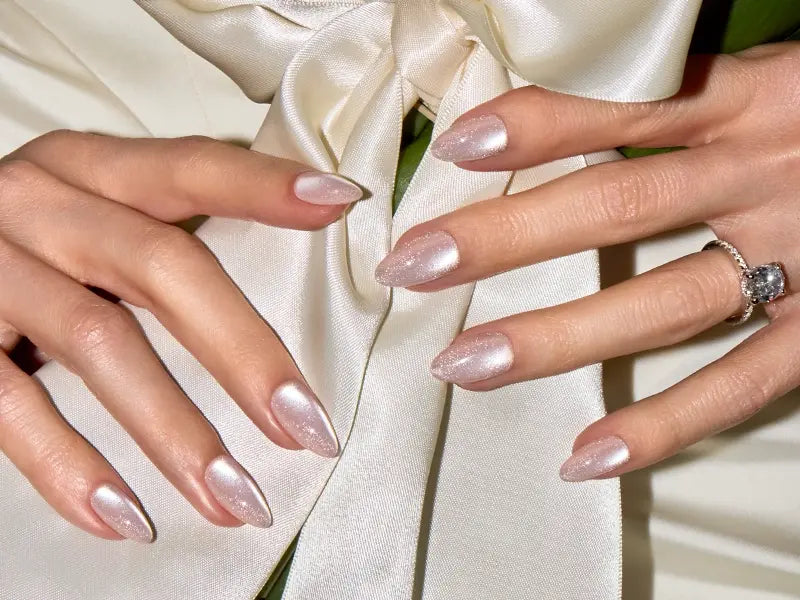
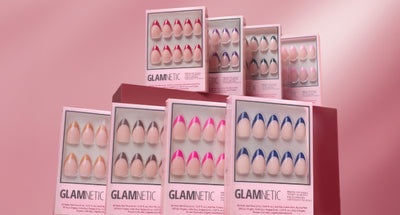
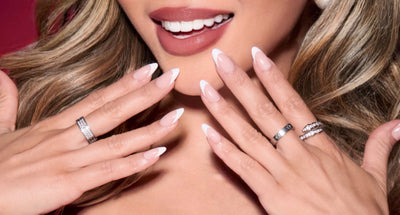
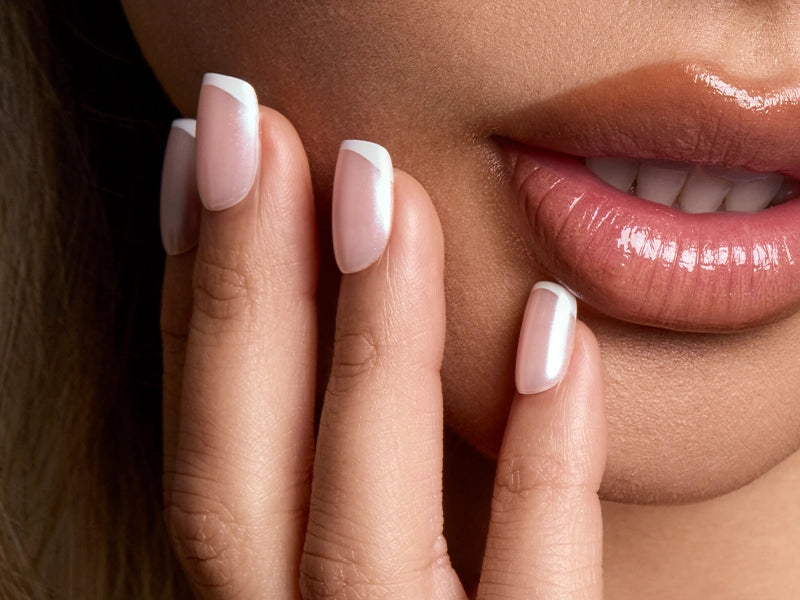
HOW TO APPLY PRESS ON NAILS
HOW TO APPLY YOUR GLAMNETIC PRESS-ON NAILS
1. Remove any previously applied nail polish. Wash and dry hands.
2. Push back cuticles using the cuticle stick and sanitize nails with alcohol pads.
3. Size Glamnetic nails by placing on finger and select sizes best suited for your natural nails.
4. Apply an even layer of glue to natural nails and the back of Glamnetic nails.
5. Align Glamnetic nails with cuticle line and apply at a downward angle. Press down firmly and hold for 10-20 seconds.
6. Apply all 10 nails and if needed, file or clip to achieve desired shape.
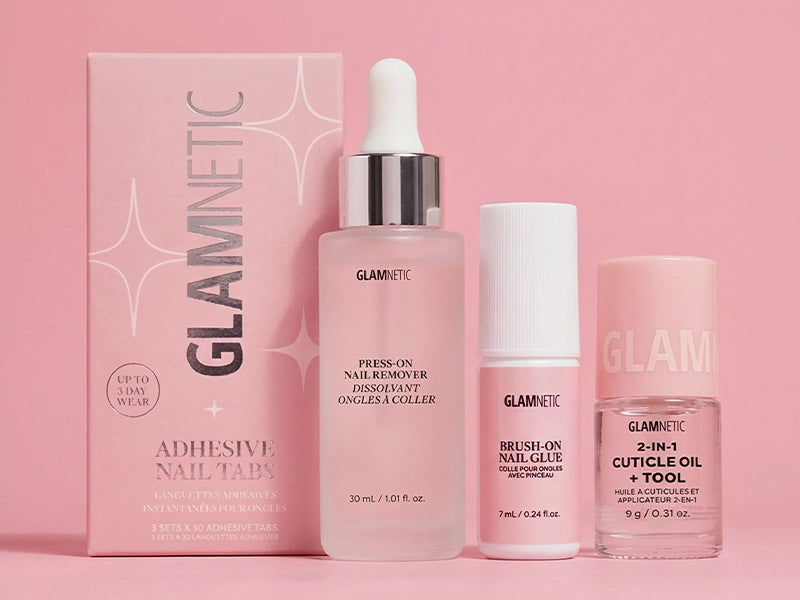
Nail Removal Tips
1. Soak nails in warm water for 10 minutes or until glue loosens.
2. Gently peel Glamnetic nails starting from the side. Do not force removal, re-soak nails if required.
3. Remove any excess glue using a buffer and moisturize hands after.
CAUTION: Contains Ethyl Cyanoacrylate. BONDS SKIN INSTANTLY. AVOID CONTACT WITH EYES, MOUTH AND SKIN. KEEP AWAY FROM CHILDREN. In case of eyelid bonding: consult a physician. In case of skin bonding: soak in water and ease apart gently. Do not use around eye area. Discard any unused glue after use.