Pamper Yourself With an At-Home Mani-Pedi

It’s curious how a little paint on your digits can add so much oomph to your day. It feels good to pamper yourself, and the end result is rockin’ nails that look fabulous. Knowing how to create the perfect mani-pedi at home is important, especially during these crazy times we live in.
So grab your paint and files because we are about to run through the steps on how to create a beautiful yet simple mani-pedi at home.

Stuff You’ll Need for the Perfect Mani-Pedi
You already know that you’ll need nail polish and a nail file, but here are a few other items you may not know you’ll need.
- Nail trimmers: Trimmers will help you trim down any long nails you may have on your fingers and toes.
- Nail file: A fine grit nail file is important to create smoothly filed edges around your nails. A glass or crystal file works best.
- Nail buffer: Nail buffer blocks help to smooth down the surface of your nails, preparing them for polish.
- Cuticle stick: Cuticle sticks help push back your cuticles, keeping them healthy and making your nails appear longer.
- Cuticle oil: Oil helps to hydrate your cuticles and soften rough areas on your skin.
- Base coat: A base coat protects your nails from nail polish staining. It also acts as a primer so that your nail polish lasts longer.
- Nail polish: Choose any color you adore—simple.
- Top coat: A top coat helps prevent your polish from chipping and adds a glossy finish. Look for a quick dry top coat that cuts drying time. If you’re feeling trendy, opt for a velvety matte top coat instead of a traditional glossy one.
- Hand and foot cream: Cream is thicker than lotions and provides a nice velvety feel to the skin on your hands and feet.
- Pumice Stone: A pumice stone can be found at your local retail store. It helps scrub away any hardened or rough areas on the bottoms of your feet.
- Polish Remover: Use this to remove nail polish mistakes.
- Cotton balls and pads: You’ll use these for clean-up around your nails.
- Epsom Salt: Epsom salt creates the perfect relaxing soak for your tootsies.

How to Give Yourself a Mani
Having your nails perfectly manicured looks and feels nice. In between press-on nail applications, take matters into your own hands by pampering yourself with this easy step-by-step mani. Put your fave movie on, and let’s get started.
- If you have nail polish on now, remove it completely with the nail polish remover and cotton pads. Next, wash your hands. Then clip your nails with your nail trimmers and carefully file your nails to the desired shape. Remember to always file going in one direction, never in a back and forth sawing motion. This could cause micro-tears in your nails.
- Wash your hands to remove the dust from filing and thoroughly dry your hands and nails. Apply cuticle oil to each nail to soften them, and use your cuticle stick to gently push back the cuticles on each fingernail.
-
Use your nail buffer to buff the tops of each nail to remove any surface oils. Apply hand cream to your hands for a velvety touch.
Glam tip: Exfoliate your hands with a sugar scrub before applying the cream. This will make your hands super smooth!
- Next, wipe each nail with nail polish remover to remove any creamy hydration from each nail. Apply your base coat evenly to each nail bed and allow it to dry for about two to three minutes.
- After the base coat is dry, apply your nail polish color evenly and in a thin coat onto each nail. Allow it to dry for about three minutes. Next, apply a second coat of polish and allow that to completely dry.
- Apply a top coat for your diamond-hard, glossy or matte finish and allow it to dry.
- Apply cuticle oil to your cuticles and hand cream to your hands, and you’re ready to go!
Give yourself a hand! You perfected the simple at-home manicure.

How to Give Yourself a Pedi
An at-home pedicure isn’t as difficult to do as it may sound. Of course, we all love to go to the nail salon and have our fav nail tech give us a pedi, but sometimes it may not be possible to go. That’s when you can give yourself a pedi at home. Let’s get started.
-
First, remove your old polish with the polish remover and cotton balls or pads. Fill your bathtub or a large basin with warm water and a sprinkle of Epsom salts. Soak your feet for about five to ten minutes.
Glam tip: Apply cuticle oil to the cuticles on your toenails and to the heels of your feet to soften rough skin while they soak.
- After your soak, trim your toenails and file away any jagged edges of the nails. Use your buffer to buff the tops of your toenails.
- Grab your pumice stone and carefully scrub away any rough places you have on your heels, toes, or outer edges of your feet. Rinse feet in warm water and dry thoroughly.
- Apply some of your foot cream to your tootsies and give yourself a well-deserved foot massage. Focus on drier areas such as your heels or toes.
- Wipe your toenails with polish remover to remove the cream and create a clean slate for your polish. Next, apply your base coat and allow it to dry for two to three minutes.
- Apply two thin coats of your favorite polish, allowing them to fully dry between each coat.
-
Next, apply a top coat to complete your pedi. Allow the polish to dry completely, and you’re done!
Glam Tip: Wait for at least an hour or two after polishing to apply socks or close-toed shoes. Ideally, you’ll want to wait 24 hours to avoid messing up your toenails.
Quick Recap
Perfecting the perfect mani-pedi at home isn’t difficult and can actually be fun. Just make sure you have all of your supplies together before you begin. This will make the whole process run smoothly.
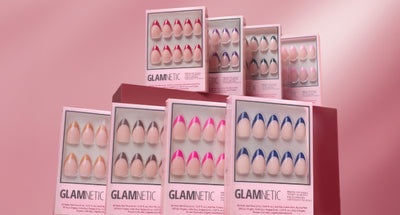
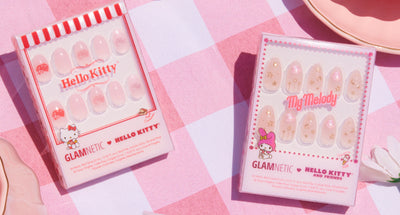
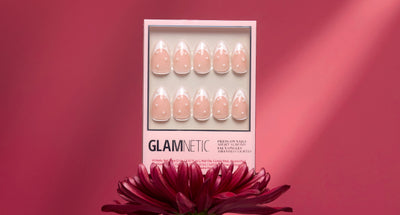
For an easy “put together” look that only requires two minutes of your precious time, try applying Glamnetic press-on nails. These nails are celeb-inspired and come in super trendy colors and designs. You’ll get a gorgeous, haute look quickly without dry-time and without all that extra work.
If you adore the look of trendy printed French tips, try our latest nail design, Strawberry Milk! This super cute, pinky nude nail set flaunts cow print tips and a long coffin shape with a glossy finish.
If matte is your style, try Double Rainbow. This one is rockin’ a matte ombre rainbow in a long coffin shape. Remember, you can always file our nails to the length you love.
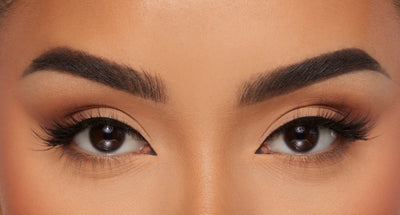
Pair your nails with some fabulous magnetic lashes, and you’ll be ready to snap your selfies. Each lash set can be applied in one easy minute using our magnetic liner. It’s amazing what a pair of lashes and a set of gorgeous nails can do for your attitude.
♡SUBSCRIBE BELOW FOR 15% OFF YOUR GLAMNETIC PURCHASE!♡
Sources:
Why Glass Nail Files Are Better | Marie Claire


