


How To Clean False Eyelashes
False eyelashes are fabulously fun to wear. They make you feel like a rockstar about to take the stage, and anything is possible with the confidence you get the moment you pop on the right lash.
With this totally new attitude comes a little bit of responsibility to make sure that you treat your lashes the way they deserve to be treated. Keeping your new lashes clean is an easy yet vital step in keeping your eyes and lashes healthy and irritation-free.
Why It's Important to Clean False Lashes
You go to great lengths to choose the perfect lashes before you purchase and apply them. Cleaning your false lashes is very important in maintaining that polished and pristine look.
Let’s be real; we all get busy and forget to do things at times (yes, we are talking about clearing out your closet like you’ve been saying for years). If we continuously forget to practice proper lash care, though, irritation and even infection can occur.
Types of Lashes
By keeping your false strip lashes clean, you will prolong the number of uses you get from the lashes. This will save you money in the long run.
The price of false lashes depends on a few factors.
-
Material - What are the lashes made of? Mink lashes may end up costing slightly more than their vegan counterparts, but both have their perks.
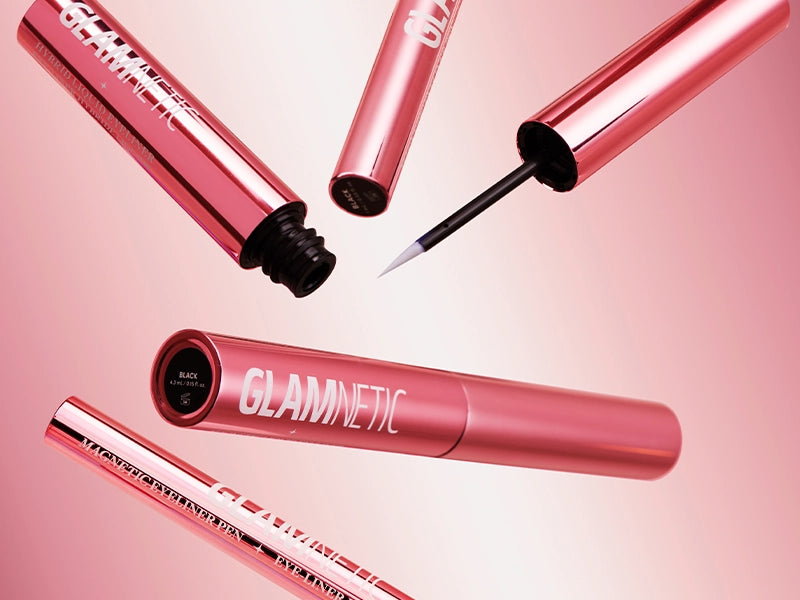
- Means of Application - How are they applied? Your two main options are glue-on lashes or magnetic ones. We, of course, are on the side of magnetic lashes, because they’re easy to use, require less maintenance, and last longer—what’s not to love?
There are many ways to achieve full, voluminous lashes. Lash growth serums, lash extensions applied in a salon (which can be pretty darn expensive), and at-home lash kits that require glue or magnetic liners. You’ve got options, but we’re pretty sure that once you try magnetic lashes, you’ll keep choosing them again and again.
Applying Magnetic Lashes
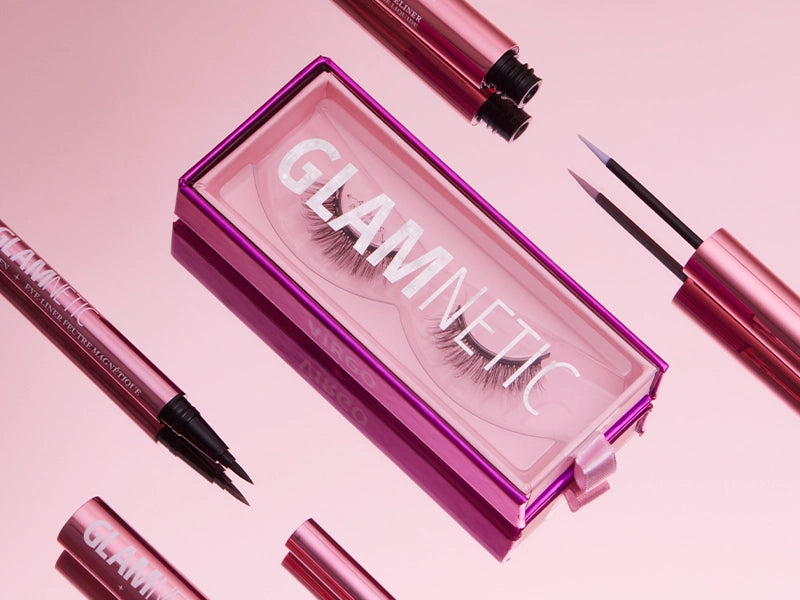
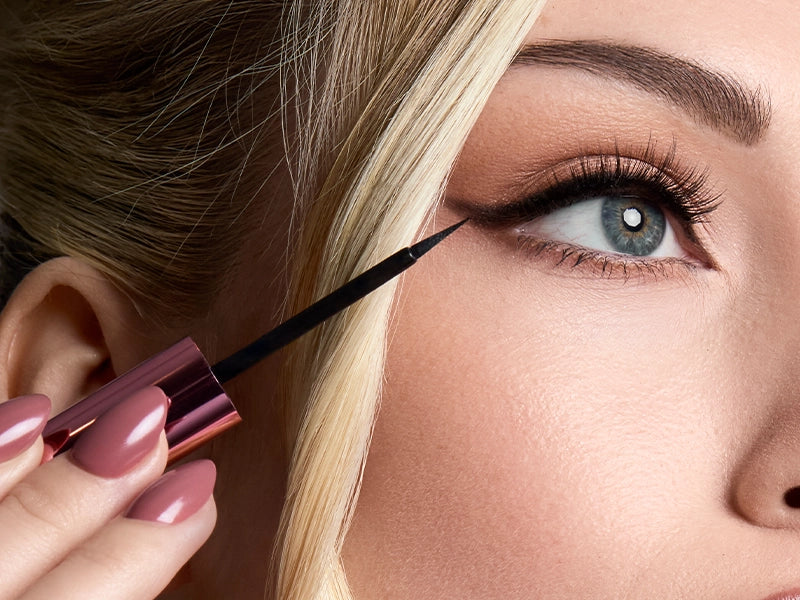
Well, you’re here to learn more about lashes, right? So, how are you supposed to apply magnetic lashes? Luckily, Glamnetic Magnetic Lashes are easy to clean and keep full and fluffy. They are waterproof, reusable, and take only one minute to apply. For application simply:
- Apply the magnetic liner
- Lay the lash band over the liner for adherence
- Gently tug the lashes to ensure a proper grip
Cleaning Magnetic Lashes
After a full day of wear, make sure you remove your magnetic lashes–even if you are tired when you get in at 2 am. Just follow these simple steps to ensure your lash look will be just as great the next time you wear them.
-
Cleanse hands with soap and water and gather tweezers, and a clean cloth, or pads, and makeup remover or micellar water.
-
Remove - Gently pull the lash away from the magnetic liner. Beginning at the outer end of the lash, pull slowly and gently toward the inner corner until the entire lash band is removed. This should not be painful or remove any of your natural lashes.
-
Clean - Take a look at the tiny magnets on the lash band. You’ll want to clean those gently with makeup remover or micellar water. Simply apply a bit of your cleanser to either a q-tip or Cotton Candy Cloth and gently rub the magnets until all of the remaining magnetic eyeliner residues are removed. Do not use oil-based removers.
- Store - Replace your Glamnetic lashes into their storing case so that they keep their shape until you’re ready to rock them again. Make sure to keep them in a cool, dry place.
After cleaning your lashes, it is important to clean your natural lashes and eyelids and make sure that all of your makeup is off.
Using your makeup remover or micellar water, use a cotton candy cloth or pad and gently swipe across your eye to remove the remaining magnetic liner and eye makeup. Continue to gently wipe your eyes until all makeup is removed.
Follow up with your regular facial cleansing routine and skincare products.
Steps To Clean Glue-On False Lashes
Regardless of what lashes you choose, you need to disinfect them after each use. Here are some simple steps that must be taken to maintain your gorgeous new lashes.
-
Before you begin, cleanse your hands with soap and water. This is important in preventing the spread of germs to your eyes.
-
Remove lashes carefully with tweezers. Begin at the outer edge and pull toward the inner corner. This should not be painful or cause any of your natural lashes to come out.
-
Grab your tweezers and gently remove any loosened glue or eyeliner from the lash band.
-
Dampen a cotton cloth, pad, or q-tip in makeup remover or micellar water and gently rub the band of the lashes. Continue in a gentle back and forth motion until all of the glue is removed from the band. Just make sure that you’re not using an oil-based cleanser because this can cause the lashes to loosen.
- When you’re cleaning, make sure that you don’t allow the actual lash to get wet. This can damage the curl and shape.
- Avoid cleansers with harsh chemicals. This can damage delicate lashes.
- Allow the lashes to dry before placing them into the case they came in. By storing the lashes in their case, you ensure that the lashes will keep their fabulous curl and shape. Store in a cool, dry, and dark place until you’re ready to rock them next time.
You should follow these steps each time you wear your lashes so that they last as long as possible.
Glamnetic Lashes Are the Way to Go
Glamnetic magnetic lashes can be used up to 60 times if they’re kept clean and stored properly in their case—yes, really. Your fluttery friends need to be kept clean so that your eyes can remain healthy and irritation-free.
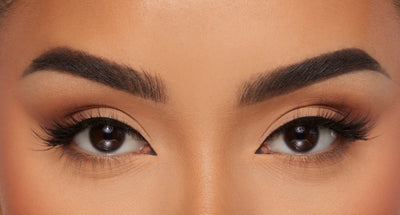
Our magnetic lashes come in a variety of lengths, shapes, and colors. Take our lash quiz to determine which lashes are the right ones to accentuate your eyes and make them pop!
Be magnetic. Be Glamnetic.
Sources:
HOW TO CLEAN YOUR MAGNETIC LASHES | Glamnetic | Youtube
Eyelash Extension Facts and Safety | AAO
15 Easy Rules for Washing Your Face the Right Way | Healthline
How to Clean Your False Lashes, According to Makeup Artists | Allure

